So what does it take to be successful in the direct-to-garment business? First, become proficient at the machine. That will take some time as with any new equipment or technology. Second, prepare high resolution graphics. Direct-to-garment printers reproduce exactly what you send them, either perfect reproduction of a beautiful file, or perfect reproduction of a poor pixilated image. Third, go out and market your product to the buying public. Customers for this type of high resolution, short run garments are everywhere!
It’s important that you learn the basics of an industry art program such as Adobe Illustrator, PhotoShop, CorelDraw or a similar program. The higher your proficiency, the easier it will be to prepare your artwork for printing.
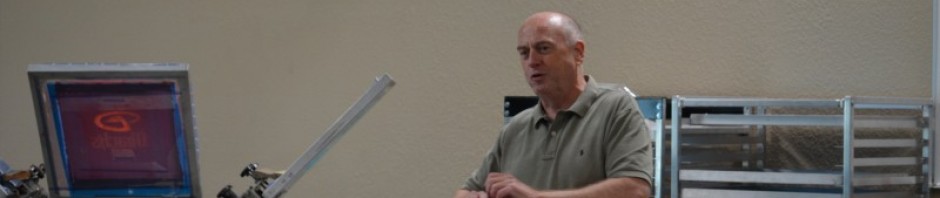
Get training on the direct-to-garment machine, when you buy the machine. Go to the dealer, or have a technician come to your location for setup and training. You’ve made a large financial investment. Assure your success by being properly trained to use this equipment.
The most important lesson you will learn is how to do simple maintenance. This cleaning of the machine will take just minutes a day, but the consistent operation of your machine depends on this quick daily maintenance.
You are purchasing a sophisticated printing device. It is important to maintain it in a clean and environmentally controlled environment. Maintaining a comfortable room temperature around 72 degrees and a minimum of 40% humidity will be the ideal setting. A hygrometer available usually for under $20.00 at a home store will tell you what your humidity level is. If necessary to maintain you humidity level, a humidifier may be required.
Just as with any technology, there is no “magic button” on a direct-to-garment machine. You need to allow time, 30-90 days, to feel comfortable with printing most any graphic. That means you should discourage having a stack of “must ship today” orders on your desk while waiting for the truck with your machine to arrive. Allow time for some test printing and experimenting without the pressure of a looming deadline.
Some new users are afraid of “using up” the machine by printing too much. With direct-to-garment the opposite is true. The more you print, the better your new printer will operate. So once you get comfortable, fill up your production schedule.
As to the garments you print upon, we use water based inks so your absolute best substrate will be 100% cotton. Not all cotton shirts are “created equal”, so do some experimenting. Some garments will look more bright and crisp than others, simply because of the fabric weave and finish. You can print on other blends of fabrics down to a 50/50, but 100% cotton will always give you the best print and the best wash-ability.
Remember that communication between your computer and direct-to-garment machine can be interrupted if the USB cable is too long. Try to use a cable that is 10’ or less for best result.
Direct-to-garment machines come with RIP software that is PC compatible only. You can use a work-around to make the printer work with your Mac computer, but best to use a dedicated PC.
Give yourself enough room to work with your new printer, allowing space for the machine, a loading and unloading station and room to stack your shirts. In addition, allow for a heat press near your machine as well.
Pretreating your shirts whenever you print white ink can be accomplished in the same room with your printer if you use our automatic pretreat machine. If you opt to use a Wagner power sprayer, this work will need to be done in a separate room away from the printer. The atomized pretreatment spray could find its way into your printer and cause a variety of problems, including clogging of the print head.
While we use water based inks that can air dry after printing, for proper wash-ability, you will need to heat set the ink on the shirt. This is almost always accomplished using a heat press. A general rule of thumb is curing a light shirt (no white ink) for 90 seconds at 330 degrees F. A dark shirt (with white ink) will be cured at 330 for three minutes. These numbers vary from manufacturer to manufacturer. Generally, a heat press, just like you direct-to-garment machine, will operate on standard household current. Buy a good quality heat press! You’ll have it for years, so don’t skimp here.
Be sure to create lots of customer samples, to not only work with your machine, but to entice customers to buy. Nothing sells a new customer like seeing their logo or event on a printed shirt.
Direct-to-garment printing allows us to have “sky’s the limit” kind of thinking. If you can imagine it, if you can create it on a computer screen, you can print it on a T-shirt. With a little time and practice, you can build a fun and successful business with your creations.

We just purchased our DTG printer about a year ago and I can’t stress enough how important it is to keep your machine clean. It’s a good idea to have a maintenance/cleaning log for your printer, record what date the maintenance was performed on and what print heads needed cleaned. Print heads can be very expensive to replace but if you keep up on your maintenance you shouldn’t have a problem.
I think the trickiest thing for us was dialing in vibrant whites. Over time we came to find out that if the printer is not laying down a bright white, then it’s most likely a pretreat issue and the shirt needs to have more pretreat.
Great readiing your post